Explorations, prototypes, & pivots
two takeaways:
- Having the user story map created made prototyping ideas at higher fidelities a lot easier to do with confidence.
- Give yourself a hard time-box, but be flexible with your approach (knowing more tools helps when you need to pivot)
User story mapping + JTBD allows for a focus on value creation without getting distracted by border-radius conversations too soon.
When you know what functionally needs to happen to provide value for the end-person, it makes it easy to explore smaller interactions & details that help support the core-flow that has been solved.
Lots to demo, little time to do
This was one of those days where I needed to knock out some prototypes for an important presentation the next day.
There were 4 different features that needed to be presented, and some of them were already on DEV (i.e., development had gotten ‘ahead’ of design)
A capture that I made when exploring higher-fidelity concepts. This is an afternoon condensed down to 3:29min.
Pivot: Wait, what am I doing?
Towards the end, I realized I was spending time trying to prototype a feature that was already implemented.
It had been a long day, and since I had a forced-timebox, I had only given myself a little bit of time to prototype each proposed feature.
I’d been trying to recreate the feature of the system warning when lines overlapped in the system, and it was looking pretty bad.
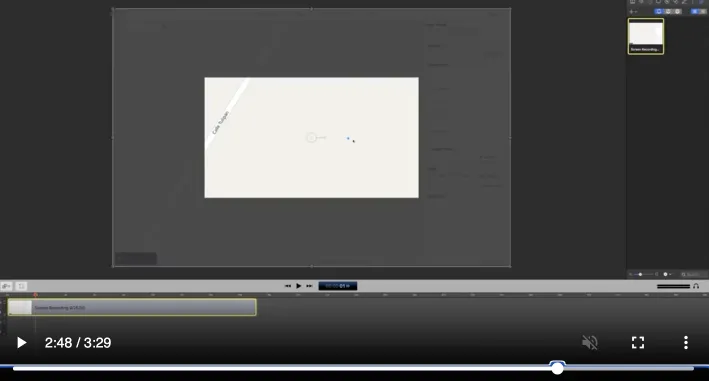
Around where I start to realize I should just focus on capturing what exists* instead of trying to recreate it.
Instead of wasting time with a poor final result, I quickly pivoted and grabbed a capture of the feature on DEV in ScreenFlow, and created a quick video demonstrating the feature (the capture starts ~2:43).
Exploring higher fidelity prototypes
A capture that I made when exploring higher-fidelity concepts.
This capture shows a prototype I was exploring for a new flow that involved transferring titles.
We’d discussed the high-level flow as a team, but the menu-pattern and details on what the main UI might look like were still in the air.
Speed with components
With enough practice, you’ll start to develop a sense about when to create components for what you’re making. This sense gets built up once you’re able to have a stronger mental model of what currently exists, what’s being discussed + future-ideas, all floating around your brain.
That sense gets built up with time, discovery, & cross-functional communication.
At this stage there were a nice chunk of components that I’d created & could leverage at this point, so there was a pretty immediate time-savings. Worst-case, just detach the component & adjust for the prototype.
Chunkin’ flows & Reading Docs
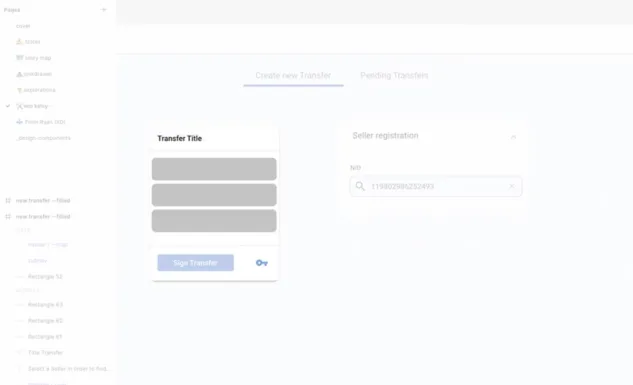
here’s an initial transfer title component, that has gray squares to cover the touchpoints.
I started by blocking out the larger ‘chunks’ of the flow, using the menu as a navigation, and referring the Material Design docs for the tool-tip pattern.

high-fidelity interactions, once the larger ‘chunks’ were taken care of.
Multiplayer
You might notice two user icons in the upper right.

seeing multiple people in the file makes me happy to see.
The left-most is me, and the person popping in on the right was the incredible product manager I was working with, Nate Olson.
We had a really great relationship and I liked having him in the files (along with whoever else wanted to pop in). I like to err on the side of over-sharing, and we were on a tight timeline.
Longer pauses in the video would be when I’d walk over and chat with Nate (during this phase we were working in the office).
A quick conversation saved a lot of back-and-forth over Slack.
process review
With a shared understanding built at a lower fidelity, higher fidelity expressions can be explored with confidence.
- understand the problem
- user story map + JTBD framing
- create prototype
- share
- iterate
General tips
- start aligning earlier than you think with a cross-functional team
- include others outside the product triad that are impacted by the flow or involved in the process
- share early & often
- create a 💩-junkdrawer page in Figma/designTool so you can explore & capture in a public file
- i like the junkdrawer pattern for any open + public file that is changing frequently
- create space for people to share early ideas - they might come from a gnarly environment
- it can take time for people to feel safe enough to let their guard down & only a moment to lose trust causing people to shut down (be mindful)